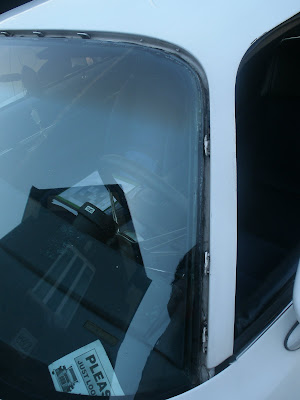
What I used:
- Flat hooked piece of metal
- Paint Stripper
- Alcohol based primer/cleaner
- Rustoleum semi gloss black paint.
First things first.
Removing the trim. This is the trickiest part. You need a flat piece of hooked metal, or a trim removal tool. I had to slide the metal/tool underneath the trim, follow along until I hit a 'tab' hooked onto it and pulled down on the tab. The trim should pop loose from the tab. It gets easy once you get the hang of it. Pulling too hard will break a tab though. Careful.
Removed all trim.
Next
Stripping the paint. Any paint stripper that works on metal should do here. I used this.
Well, I spread the paint stripper over the molding. I let it sit for a few minutes. It worked really well. The paint started bubbling and lifted right off the trim. It wiped right off with a rag.
After all the paint was removed, I used the alcohol based primer/cleaner to make sure all traces of the paint stripper was off the trim. This is important because even a small amount would ruin and bubble the next paint job.
They are ready for paint!
I spray painted all the trim, and let it dry.
I reattached the trim back to the car. This is really easy. I just placed the trim over the tabs in the right spot, and they just snap in with a little bit of force. Looks good!
Done!
I'm not an expert. I'm just an enthusiast having fun with his Camaro. Use any advice at your own risk.


No comments:
Post a Comment